In a post-Covid world, where home has become the heart of our activities, backyard astronomy offers a captivating way to reconnect with nature and explore the cosmos—all from the comfort of your back garden.. As interest in home-based hobbies and outdoor living grows, stargazing provides a unique blend of wonder and tranquility, making it an accessible escape from daily life.

In this guide, we’ll cover all the essential garden stargazing tips—from finding the perfect spot and navigating local weather challenges to setting up basic equipment and spotting celestial marvels. With a little effort and the right equipment, you can easily have one of the best stargazing setups in the UK.
STEP 1: TRANSFORMING YOUR SPACE INTO A STARGAZING HAVEN
Stargazing offers breathtaking sights, but preparation is key to making the most of your night under the stars. With thoughtful planning, even a small garden in an urban area can become your personal observatory, perfect for exploring the cosmos.
Timing and Weather: The First Priority in UK Stargazing
The UK’s famously unpredictable weather is one of the most crucial factors to consider. Clear, dry nights are essential for stargazing, so check weather forecasts carefully before planning your session. Apps like Clear Outside or BBC Weather can provide useful updates on cloud cover and conditions.
Light Pollution Solutions
Urban light pollution caused by streetlights, security lamps, and illuminated windows can obscure the beauty of the night sky, so how can you reduce light pollution for stargazing? With the following simple adjustments, you can minimize its effects:
Find the Best Spot: Use tools like the CPRE Night Blight Map or Dark Sky Meter app to identify nearby areas with darker skies.
Reduce Local Light Sources: Turn off unnecessary lights around your home and replace outdoor lights with low-intensity red bulbs, which help preserve night vision.
Block Unwanted Light: Position your setup behind fences, walls, or tall plants to shield against direct light. Attach light shields to telescopes for sharper views.
Adapting Your Garden for an ideal stargazing setup
No matter the size of your garden, you can design a stargazing setup that fits your space.
Small Gardens
In compact spaces, portability is key. Lightweight and ergonomic garden furniture, like recliners, ensures comfort during long stargazing sessions like meteor shower viewings. A compact side table can help keep essentials like star charts, notebooks, or snacks within reach. Position your setup to face the clearest section of the sky and leave enough room to move around without bumping into equipment.
Larger Gardens
If you have more space, consider permanent garden furniture for stargazing, such as observation decks or small shelters, to enhance your stargazing experience. Structures from BillyOh, like gazebos and pergolas, can shield your equipment and yourself from wind and stray light, creating a dedicated hub for celestial exploration. These features also protect gear during inclement weather, ensuring a longer lifespan for your tools.
STEP 2: SETTING UP YOUR TOOLS
The sky is clear, your chairs are set up, and snacks are ready. What now? Here are some beginner stargazing equipment tips that can help you get started:
Start with the Basics
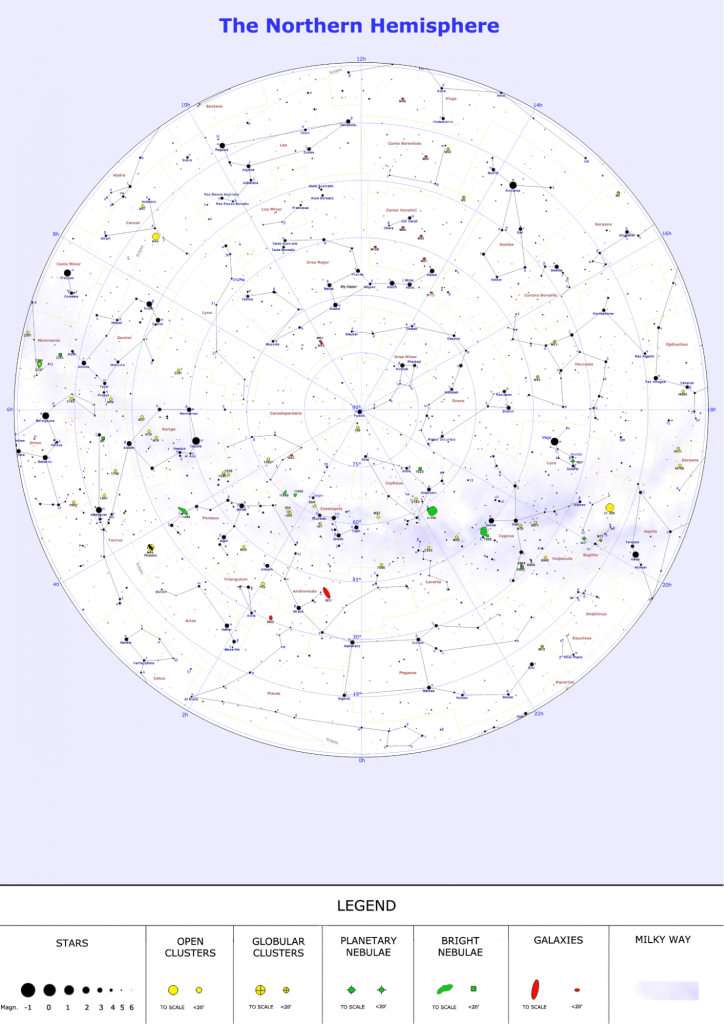
According to the Royal Astronomical Society, the first step to becoming an astronomer, amateur or otherwise, is to familiarize yourself with the night sky. Observe how it shifts through the night, changes with the seasons, and varies depending on your latitude. With your unaided eye, you can marvel at the Moon, spot planets like Venus and Jupiter, identify constellations like Orion, and enjoy meteor showers streaking across the heavens.
To enhance your experience, consider using a star chart or an astronomy app like SkyView (android or apple store) or Stellarium. These tools can help you identify celestial objects, track their movements, and guide you to upcoming celestial events, making your stargazing sessions more rewarding.
Binoculars: The Perfect Next Step
Before investing in a telescope, try a pair of binoculars—they’re portable, cost-effective, and practical. A good pair of 10×50 binoculars can reveal craters and surface details on the Moon, Jupiter’s four largest moons, and the sparkling Pleiades star cluster, which resembles a collection of cosmic diamonds.
While more powerful binoculars can show greater detail, their bulkiness and need for a tripod often make them less practical for beginners.
Level Up with a Telescope
Once you’ve learned the sky’s patterns and are ready to delve deeper, consider a beginner-friendly telescope. Two excellent options for novices are:
Refractor Telescopes: Lightweight and easy to use.
Small Dobsonian Reflectors: Sturdy and capable of capturing more light for deep-sky objects.
A model like the Celestron Astromaster 70AZ can open up a new universe, allowing you to see the rings of Saturn, nebulae, and galaxies like Andromeda, whose light has travelled millions of years to reach your eyes.

STEP 3: WHEN AND WHAT TO WATCH

The Solar System
- Moon: The Earth’s only natural satellite is visible throughout the month in its various phases. While the naked eye is enough for general observation, binoculars or telescopes reveal craters, maria (dark plains), and mountain ranges. Look out for a Supermoon, which occurs several times a year when the full Moon is at its closest point to Earth.
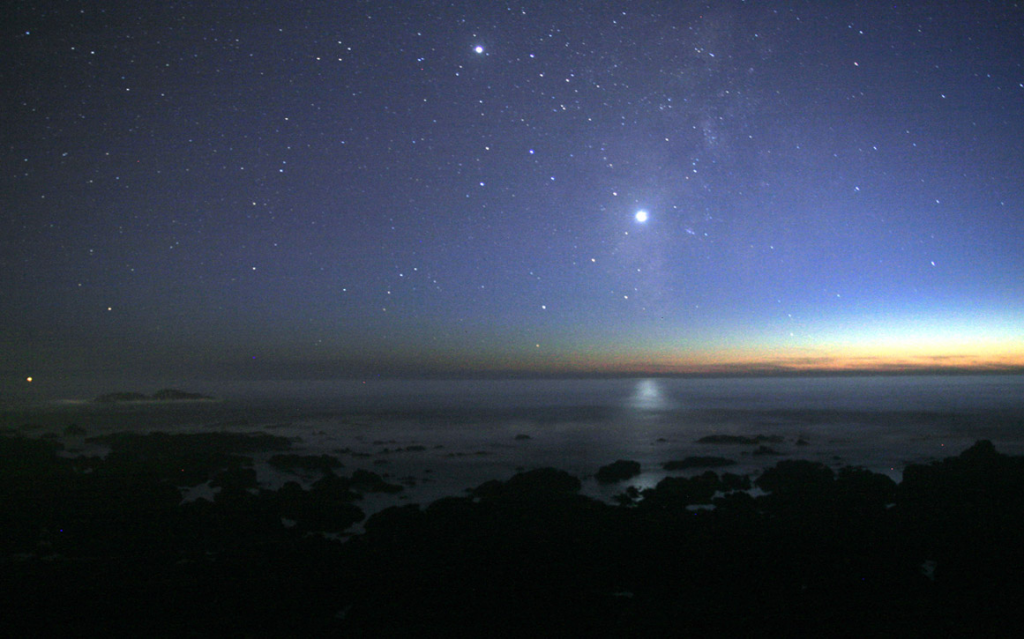
- Venus: Visible as the bright “evening star” or “morning star,” usually after sunset or before sunrise, Venus can be viewed with the naked eye or binoculars.
- Jupiter: Visible most of the year depending on its position in orbit, you can use an app to track Jupiter and binoculars or a small telescope to see more details, including its moons.

- Saturn: Typically visible in summer and autumn evenings, you can use a telescope to see Saturn’s iconic rings.
- Mars: Reddish and bright during opposition (roughly every two years), Mars is viewable with the naked eye as a reddish dot, and its features are visible through a telescope.
- Mercury: Challenging to spot but visible near the horizon just after sunset or before sunrise during its greatest elongations, Mercury can be viewed using the naked eye or binoculars.
- Uranus and Neptune: These are fainter planets visible with binoculars or a telescope during autumn and winter in dark-sky locations.
- International Space Station (ISS): Visible regularly as a bright, fast-moving object, you can use apps/websites like Heavens-Above to track ISS’s times and view it with the naked eye.
Stars and Constellations
- Orion: Visible December through March, Orion features the bright stars Betelgeuse and Rigel and the Orion Nebula (M42). It is visible with the naked eye or binoculars.

- Ursa Major: Visible year-round with the naked eye, it includes the Big Dipper asterism and helps locate Polaris.
- Cassiopeia: A prominent “W”-shaped constellation visible all year, it contains rich star clusters which are observable with binoculars.
- Cygnus: Most visible from early summer to mid-autumn, Cygnus is a constellation known as the Northern Cross, with Deneb as a bright marker. Use the naked eye or binoculars.
Deep-Sky Objects
- Andromeda Galaxy (M31): The closest major galaxy to the Milky Way, Andromeda is best seen in autumn and winter from dark-sky locations with the naked eye or binoculars.
- Pleiades (M45): An open star cluster visible in autumn and winter, it is visible with the naked eye or binoculars.
- Great Globular Cluster in Hercules (M13): It is best seen in summer and requires a pair of binoculars or a telescope.
- Ring Nebula (M57): It is a planetary nebula in Lyra visible in summer and autumn and requires a telescope for viewing.
Meteor Showers And Comets
- Perseids: It peaks in mid-August, producing bright, fast meteors, and is visible with the naked eye from dark-sky locations.
- Geminids: It peaks mid-December, offering slow, bright meteors and should be visible to the naked eye.
- Quadrantids: It peaks in early January and is a brief but strong display. You should be able to view it with the naked eye.
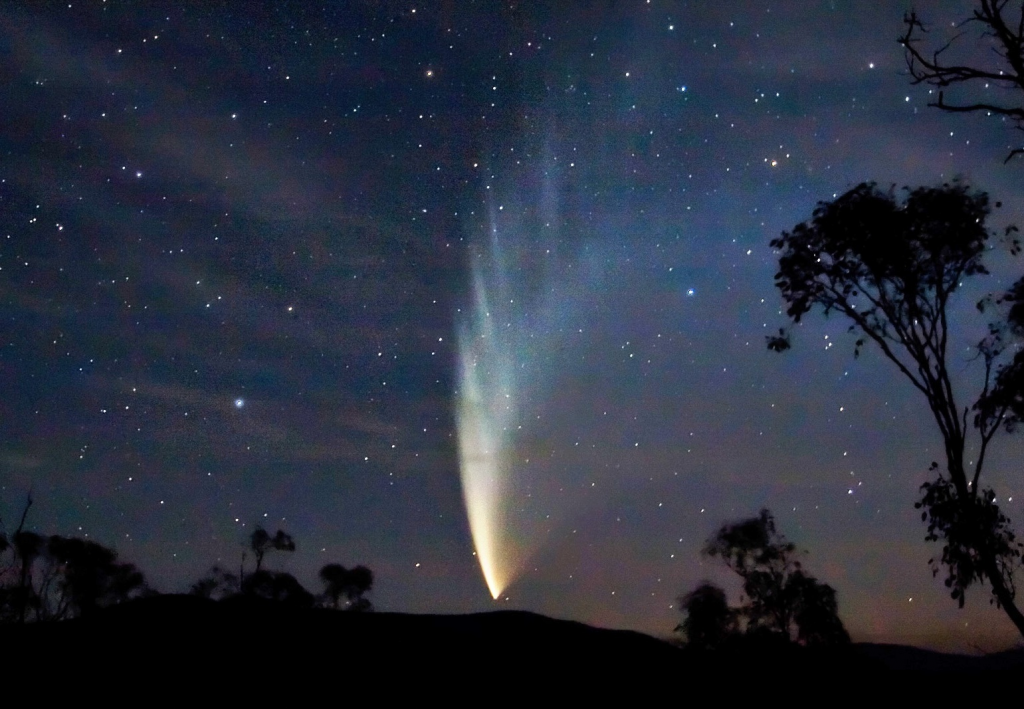
- Comets: Comets are occasionally visible depending on celestial events (e.g., Comet NEOWISE in 2020). Brighter comets are visible to the naked eye, while you may need binoculars or a telescope for fainter ones. Dark-sky locations are best for visibility.

An image showing the comet C/2006 P1 taken from Victoria, Australia in 2007. [Image credits: Wikipedia]
STEP 4: CARING FOR YOUR TELESCOPE: MAINTENANCE AND STORAGE
Proper maintenance and storage of your telescope are crucial for preserving its performance and ensuring it remains a reliable companion for stargazing. After each use, gently clean the lenses or mirrors with a soft, lint-free cloth or a dedicated optical cleaning kit to remove dust and fingerprints, avoiding harsh chemicals that could damage the coatings.
To protect your equipment, store it in a cool, dry place to prevent condensation and mold. A BillyOH garden shed or storage unit provides an ideal solution for telescope storage, offering secure, weatherproof protection for your telescope and accessories while keeping it easily accessible for your next session. BillyOH garden shades can shield your gear from wind and rain for outdoor observation setups. Additionally, to ensure the longevity of your outdoor furniture and equipment, consider using BillyOh’s garden furniture covers. These covers protect against the UK’s unpredictable weather, keeping your setup in optimal condition.
Regularly inspect your telescope’s screws, bolts, and tripod for stability, avoiding over-tightening to prevent damage. Pairing careful maintenance with proper storage solutions ensures your telescope will provide stunning views of the cosmos for years to come.
TIPS FOR A STELLAR EXPERIENCE
- Choose a Dark Sky Location: No matter how hard you try to eradicate it, light pollution can still dim the brilliance of the stars. For major events, try visiting a local park away from city lights. In fact, according to National Geographic, North York Moors (England) and County Mayo (Ireland) are two of the best spots in the world for stargazing.
- Check the Weather and Moon Phase: Clear skies and a new Moon offer the best stargazing conditions. If an event lasts more than a night, check the weather and the Moon’s phase before picking a date.
- Dress for the Weather: Even in summer, nights can get chilly. Layer up to stay comfortable.
- Be Patient: Your eyes need 20-30 minutes to adapt to the dark. Turn off bright lights and let the universe reveal itself.
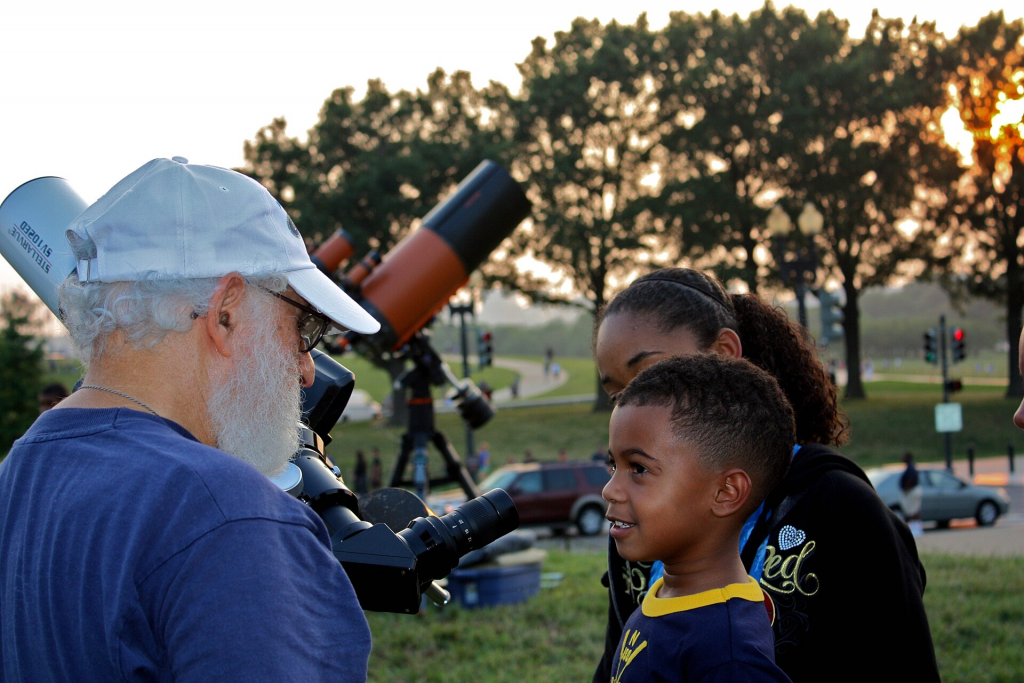
- Join a Community: Astronomy clubs and online forums are fantastic places to learn from experienced stargazers and share your discoveries. BBC’s Sky At Night has made a list of some of the best local amateur astronomy societies you can join.

Image showing people at a stargazing event conversating. [Image credits: Wikipedia]
FAQs AND TROUBLESHOOTING.
Is my garden big enough for stargazing?
The size of your garden plays a crucial role in your stargazing experience, but even a modest space can offer excellent opportunities with thoughtful planning. The key is to have a clear, unobstructed view of the sky, away from overhanging trees, buildings, or structures that could block your sightlines. A small, flat, and stable area of about 2m x 2m is typically sufficient for setting up a telescope or binoculars.
What is the best month for stargazing in the UK
October. The nights are long, dark, and often clear during this period, offering excellent conditions for observing the night sky. The crisp autumn air reduces atmospheric turbulence, improving visibility for stargazers.
Why are celestial objects appearing wobbly/blurry on my telescope?
Celestial objects can appear blurry or wobbly when observed through a telescope because of ‘atmospheric seeing,’ which refers to the distortion of celestial objects caused by turbulence in the Earth’s atmosphere. To reduce its effects, observe on calm, clear nights with objects high in the sky, avoid heat sources like buildings, let your telescope cool to match outdoor temperatures, and use lower magnifications or filters for better clarity. Advanced tools like adaptive optics can also help.
Can amateur astronomers contribute to scientific research?
Yes! Amateur astronomers are crucial in scientific research and often significantly contribute to Astronomy from their backyards. They have discovered comets, asteroids, and supernovae, tracked variable stars, and monitored solar activity over the centuries. Their dedication proves that passion and persistence, not just advanced degrees, can drive meaningful discoveries in astronomy.
RESOURCES
https://skyandtelescope.org/astronomy-resources/stargazing-basics/how-to-start-right-in-astronomy/
https://www.amateurastronomy.co.uk/
https://ras.ac.uk/education-and-careers/for-everyone/92-getting-started-in-astronomy
https://www.rmg.co.uk/whats-on/royal-observatory/astronomy-courses/amateur-astronomy-beginners
https://www.ukastronomy.org/guide_naked-eye_observations.shtml
https://science.nasa.gov/skywatching/
https://www.skyatnightmagazine.com/advice/skills/astronomy-guide-viewing-planets-night-sky
https://www.nationalgeographic.com/travel/article/a-practical-guide-to-stargazing
https://www.skyatnightmagazine.com/advice/skills/stargazing-top-tips

